
making of illuminated passage
Here are photos showing the progress and process of actually making the silk mural.
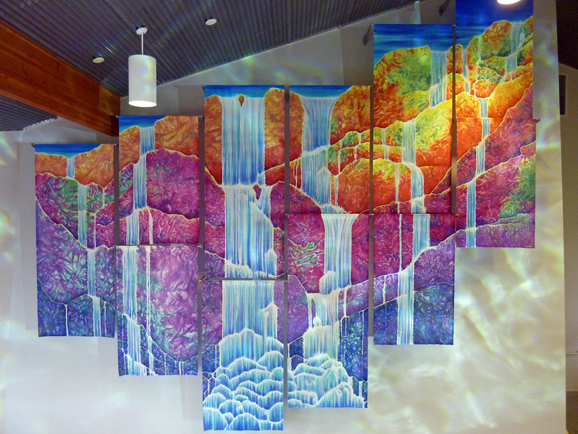
300 square feet of suspended silk
the concept
click here to skip to photo of finished silk
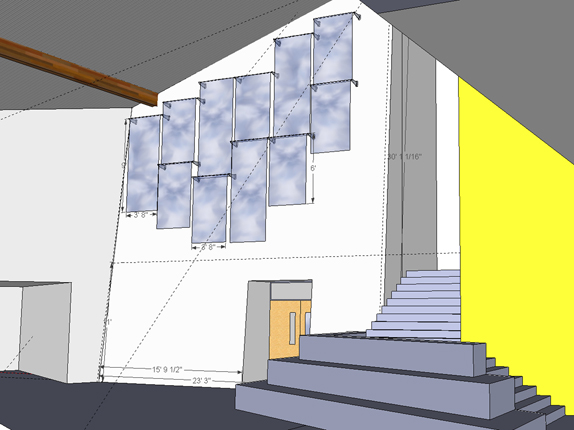
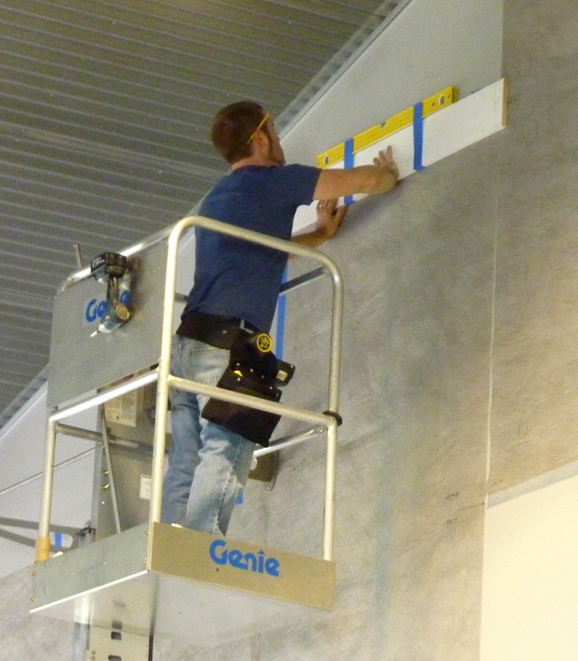
determining alignment
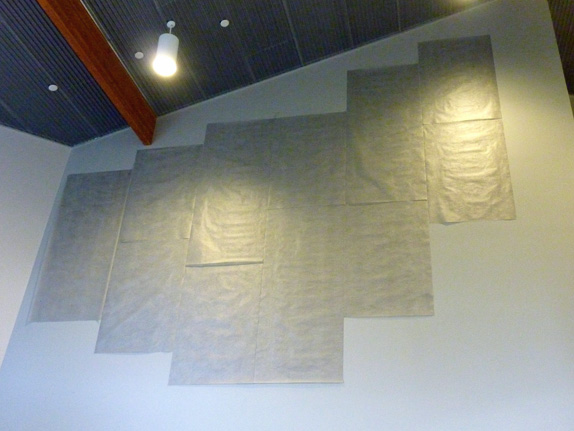
In a site visit to Liberty Middle School, I pinned templates to the wall to determine the registration and alignment of the silks to each other and to the angle of the ceiling.
To be optically centered and to avoid weird wall framing in the corner wall junction, I'll shift the entire mural to the right sixteen inches.
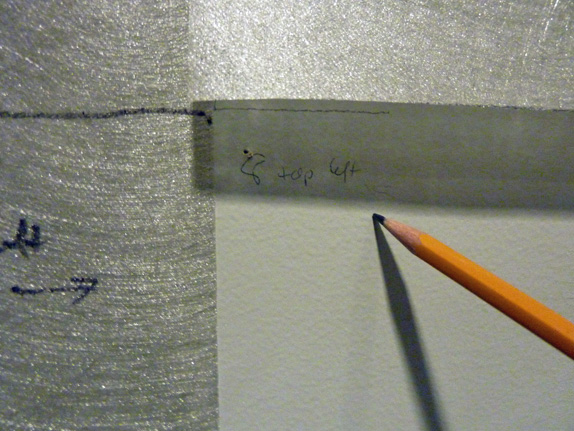
I marked the wall and templates so my final silks will match up correctly when installed on the canted wall.
Thirty-five feet up on a tiny lift makes one feel a bit queasy, but it went well. Nine hours later, I had my templates finished and was home again.
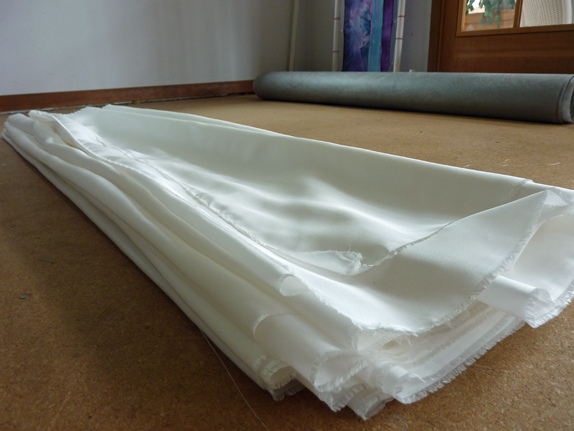
cutting silk to size
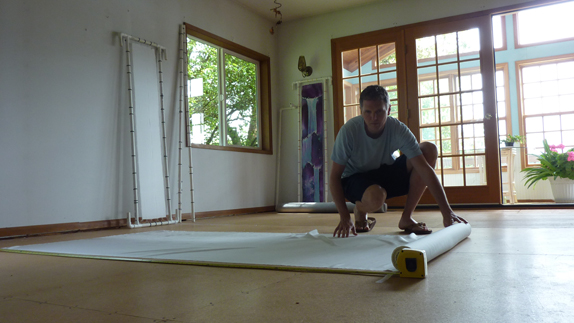
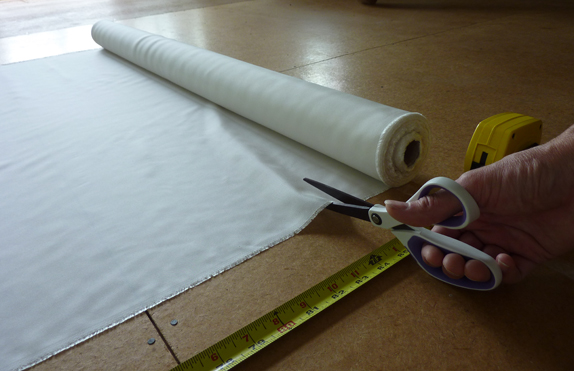
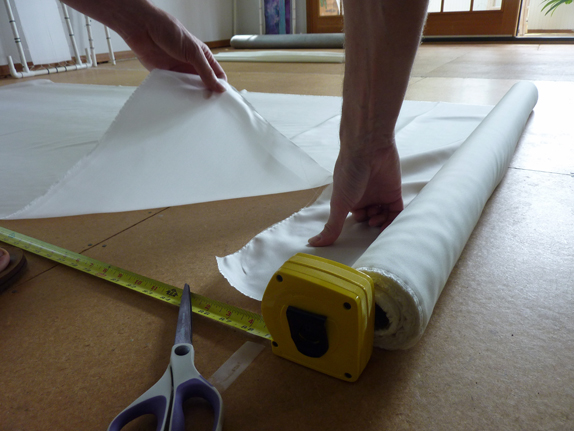
If it is woven correctly, quality silk will tear straight with the weave.
a dye test
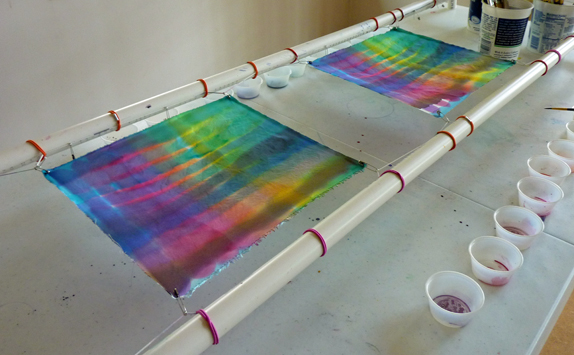
Above shows a color study, comparing how dyes flow in silk washed different ways.
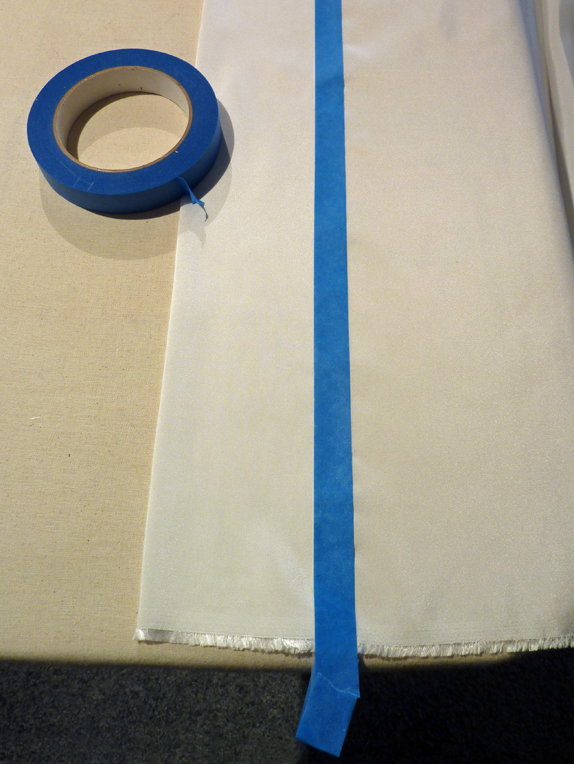
hemming
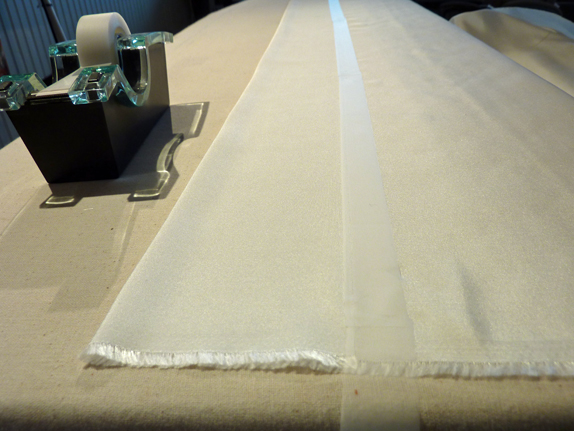
Rather than pinning, I tape my hems.
Blue masking tape placed over the clear tape helps me see and follow the line edge when sewing.
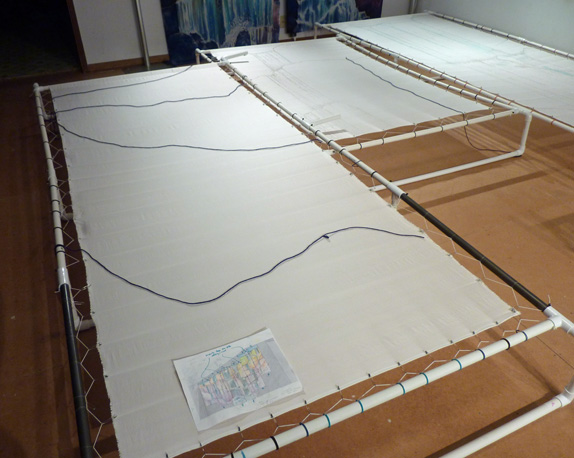
drawing the design in resist
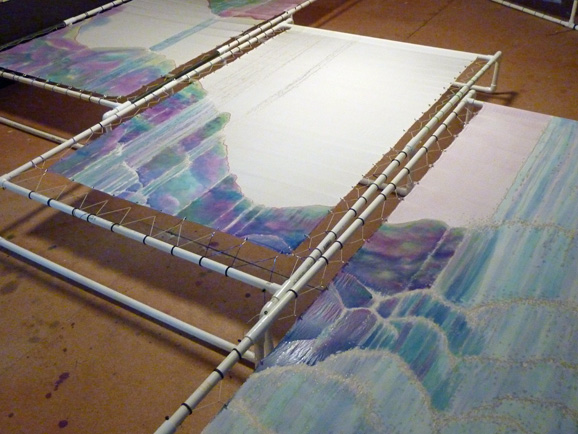
Once the silks are hemmed and stretched onto custom stretcher frames, they are ready for the design.
![]()
The first blank silk receives its imagery.
The entire composition must work together and align rightly from panel to panel.
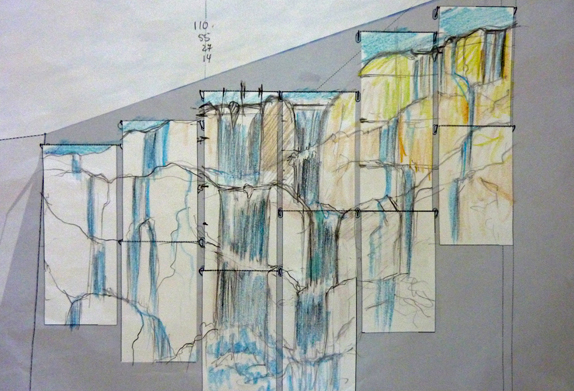
A rough compositional sketch showing lines expressing "balance and imbalance."
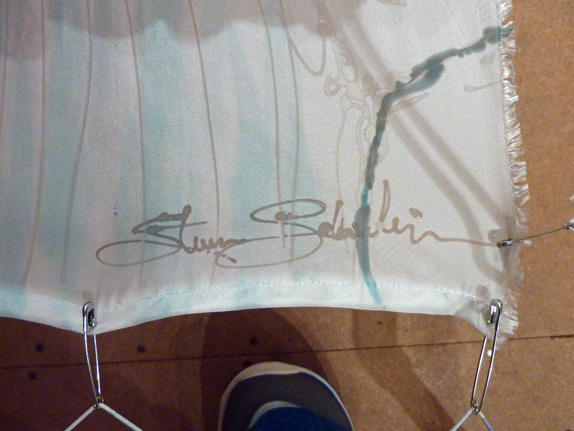
For the art historians, I've placed my signature in resist before colors are added. Dye colors will obscure it.
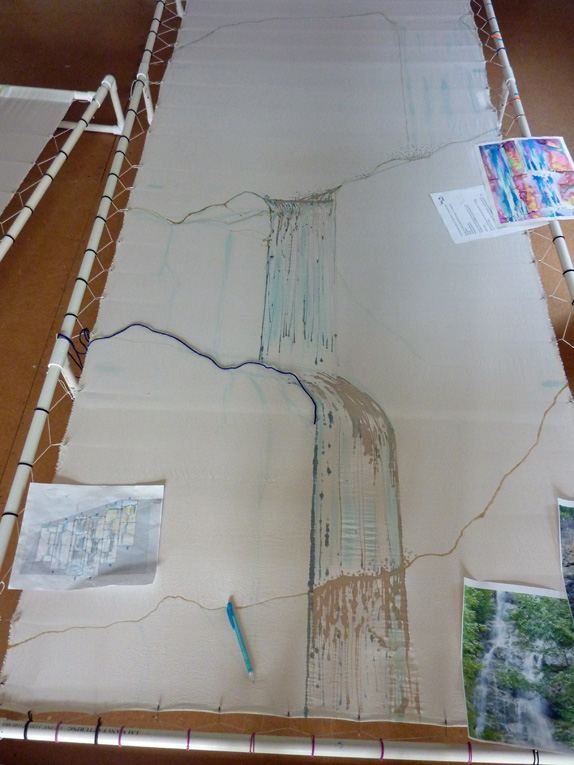
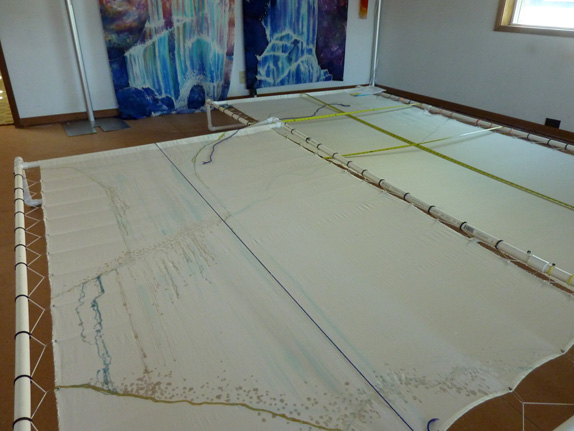
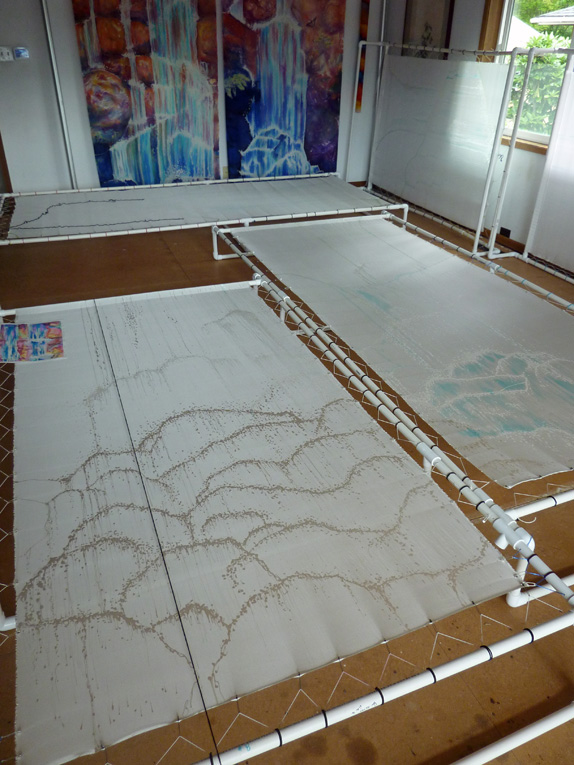
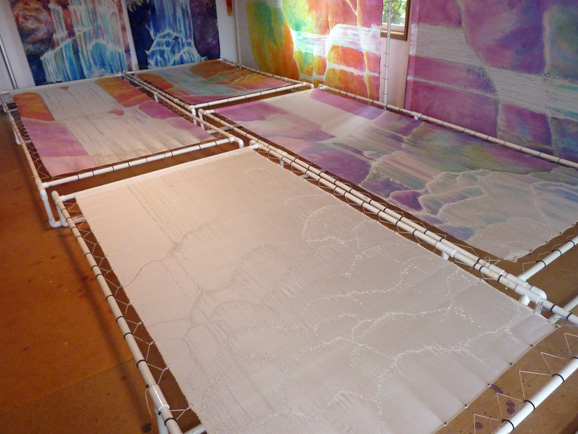
Much of the drawing is in clear resist (gutta) on white silk. It's a bit hard to see. I use diluted dye to indicate lines of water and stones. I also use dark blue yarn to "draw" my lines loosely before I actually paint them in resist. There's no erasing with silk.
The staggered placement of the silks is aligned exactly to the gray templates I previously hang on the canted wall. This way they will read correctly when installed.
Above I'm "drawing" with yarn. When I'm happy with the composition, I'll paint them permanently with resist.
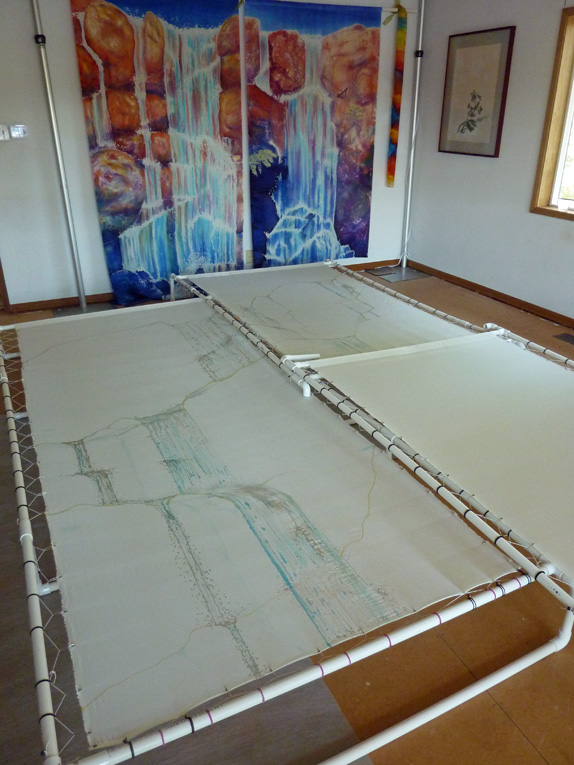
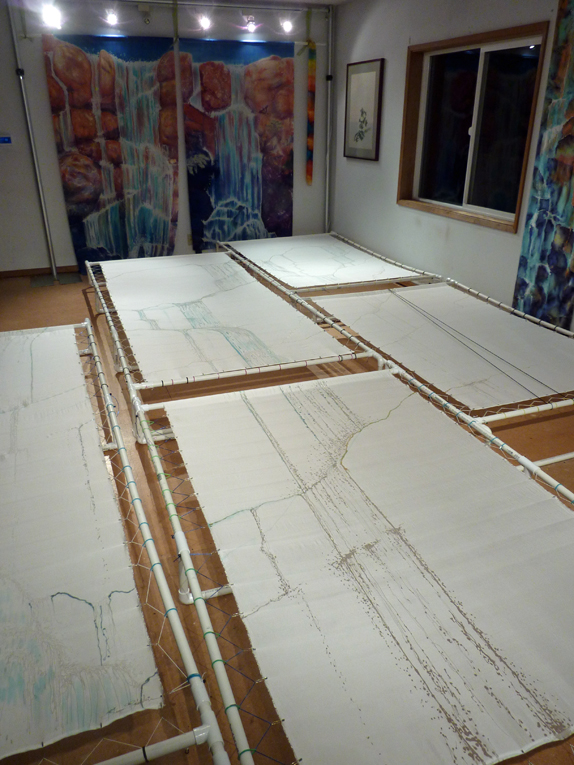
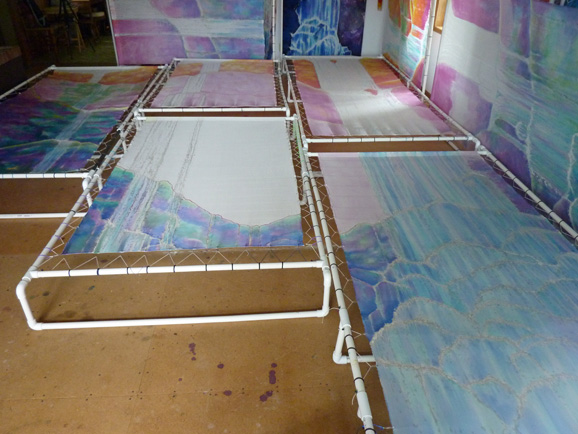
Notice the full size color studies hanging on the studio wall above. I hung all the stone and water color studies around the studio so I can see them at a glance as I create. They make great visual references but also make a beautiful setting for creating.
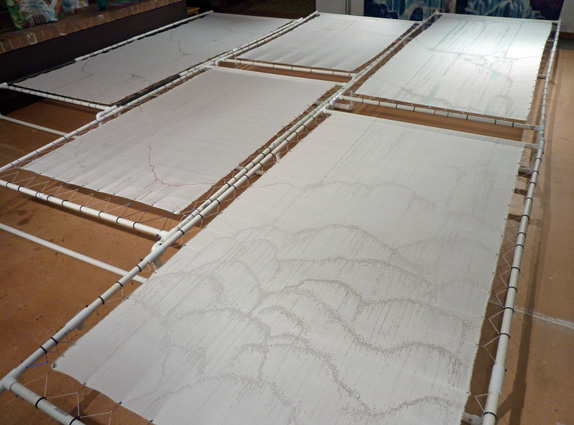
The five panels above form the entire left half of the mural. The two sizes of the silks are 45 inches wide by six feet long, and 45 inches by nine feet long.
Notice how the yarn lines have been drawn permanently in red gutta/resist now.
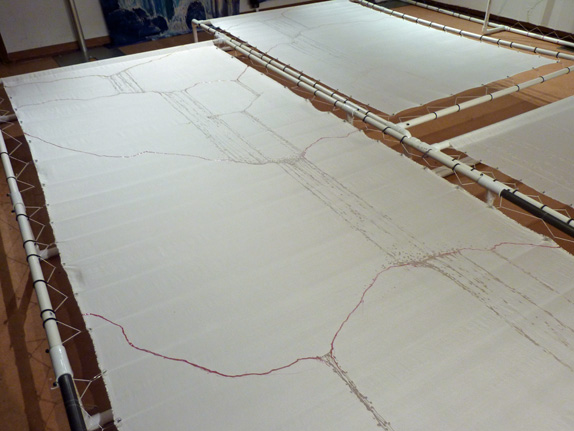
Here above, the black yarn is a "grid" guide showing me a true vertical. Water flows with gravity so knowing which way is straight down is important.
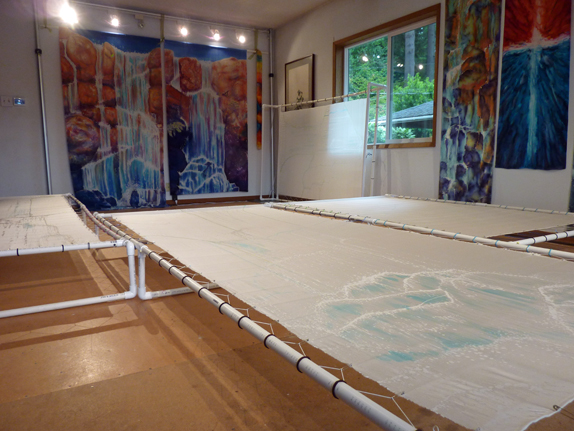
The bottom of the silk panel in the foreground loosely resembles the bottom of the full color silk on the wall beyond it near the lights.
adding dyes
Dyes reveal the shapes outlined in white resist.
A glowing under-painting in vibrant and pastel hues establishes the color pattern. Another layer of patterned or textured color will add more depth and contrast to the under-painting.
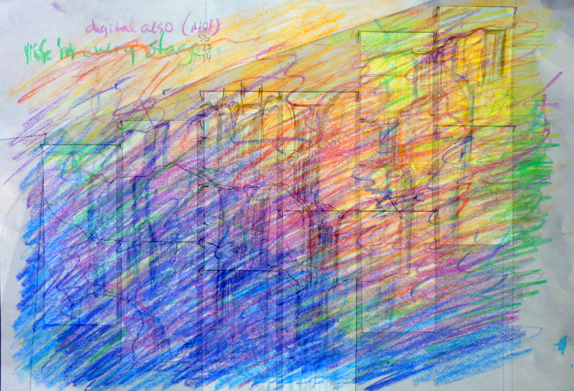
color map
Crazy but true, I've been using Crayola color crayons to create my sketches and studies lately. Something about crayons liberates me to scribble freely and intuitively like a child, resulting in more passionate and beautiful design solutions.
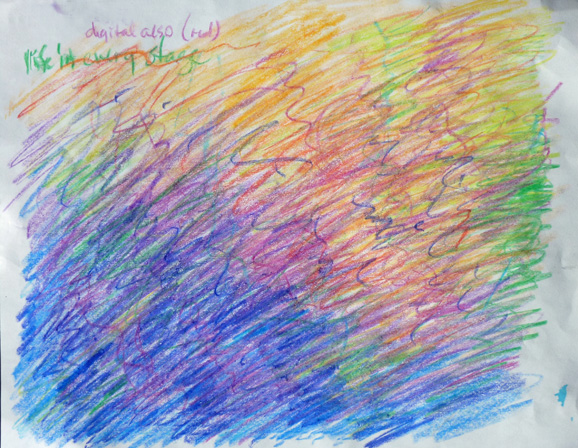
I used this crayon scribble as a reference for color placement in the mural. Yes, really.
To help you envision what I saw, I merged the line sketch and the color study below using photoshop. It's not quite as I saw it, but you get the idea.
progression of color
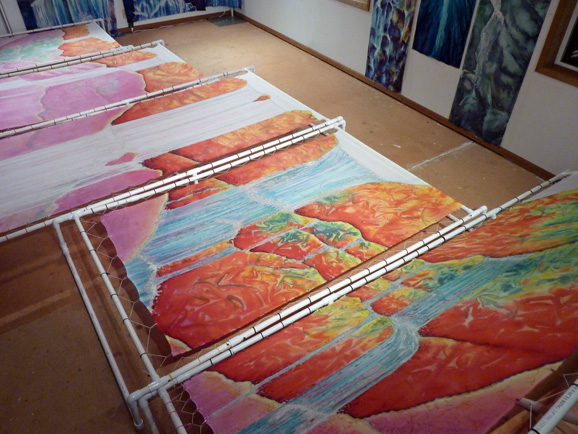
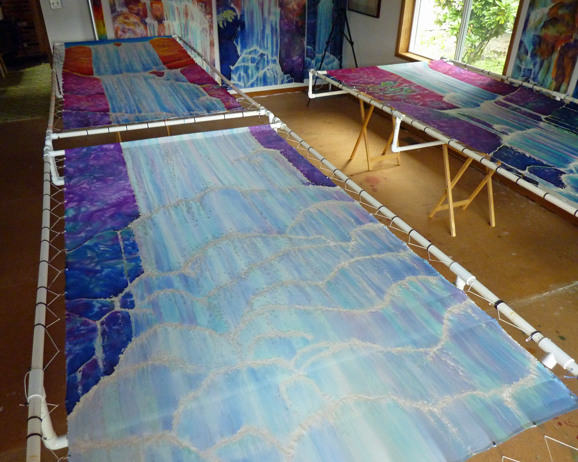
Here below are photos in progression showing dyes being painted into the various regions of the silk panels.
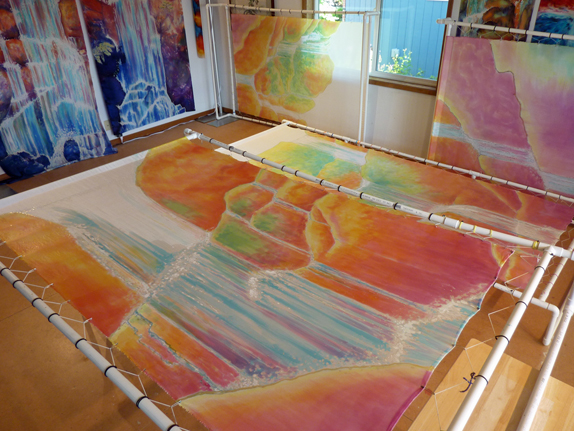
In the photo above, a light wash of digital (rose) has been added. As I paint one area, I'm attentive to all adjacent panel areas that they also match in color. In this way, the mural will appear to the viewer as one unified image rather than eleven pieces.
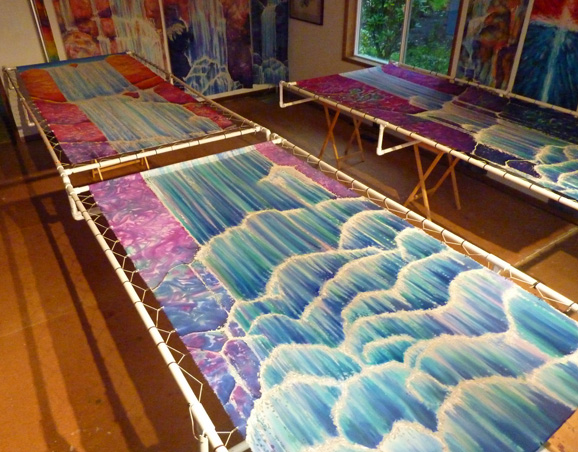
Here (above) I've added blues in the water area.
Below, I've dyed the "stones" near the bottom in cooler blues, greens, and violet.
Notice how the colors are consistent to visually connect the panels.
I've almost completed the first underpainting for the panels (above).
an amazing studio space
This project required a larger space than I've used for prior projects. I'm so grateful for this new studio I moved into just in time for this large mural.
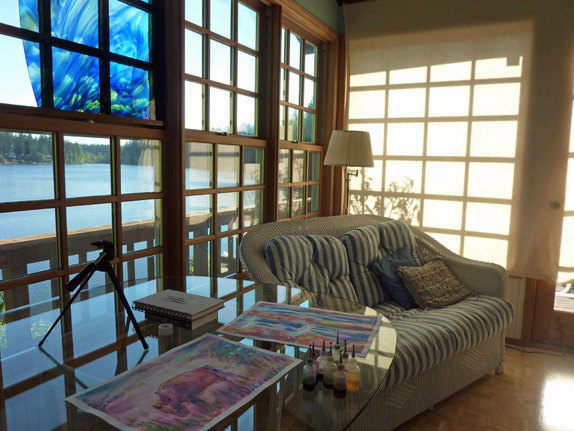
The screened porch off the studio has excellent light for color mixing, a peaceful and inspiring view of the lake, and a comfy place to rest or sketch.
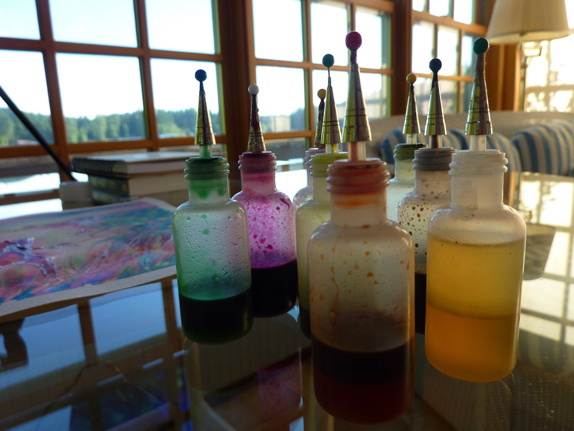
Dispenser bottles of gutta with dye color added are used to draw outlines of shapes. The outlines serve as boundaries to contain the flowing dyes into image areas.
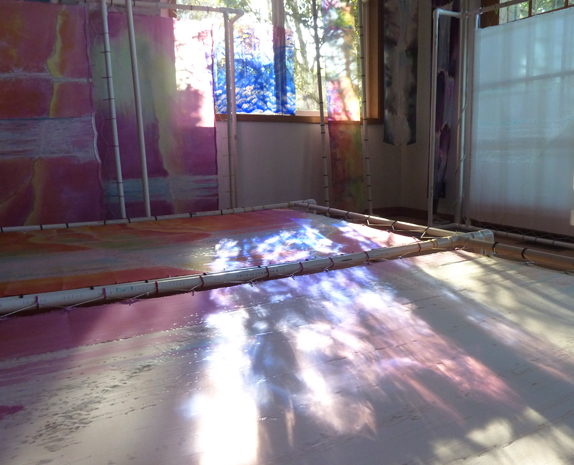
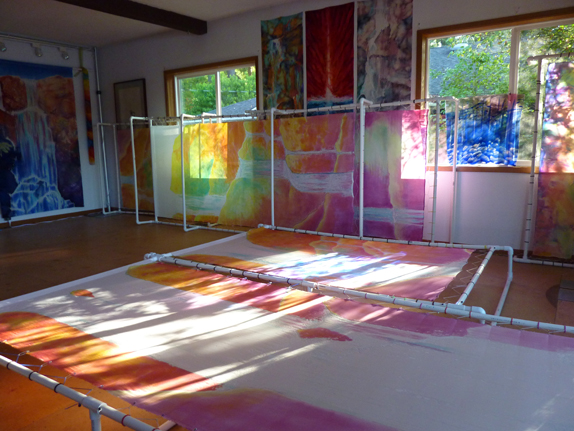
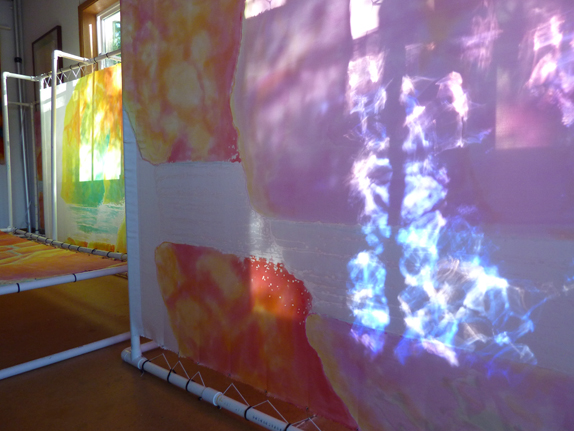
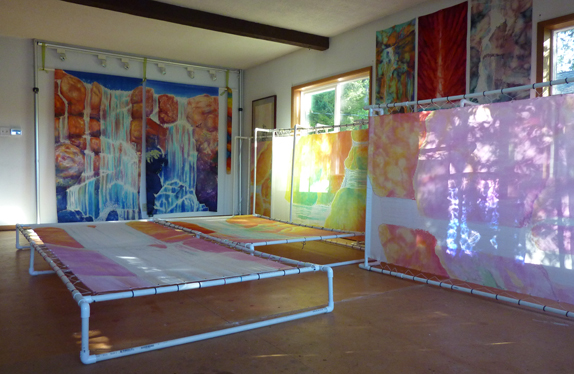
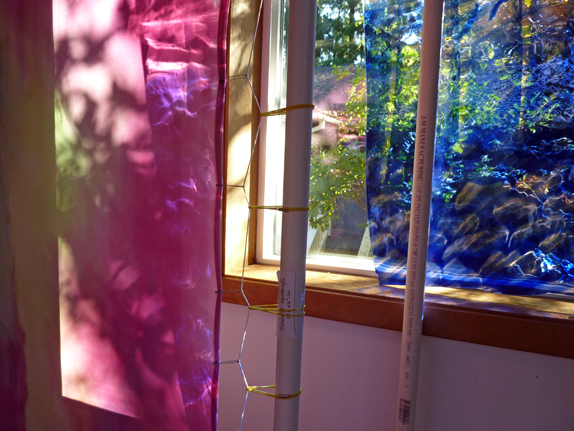
morning light
I was pleasantly surprised by the beautiful morning light flooding my studio with colors of art glass and silks. Here are a few shots. Imagine a breeze gently stirring the dogwood leaves, casting a moving kaleidoscope of colors through the room.
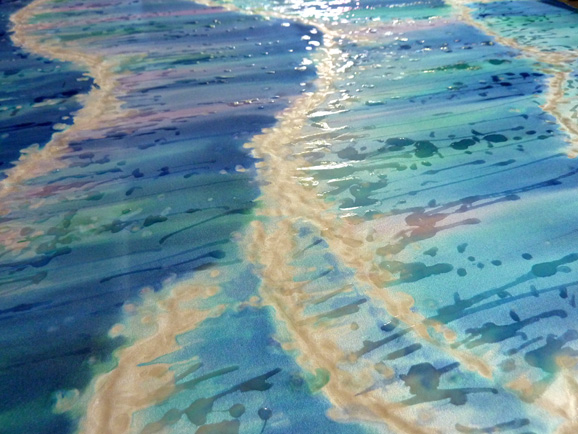
the final layer of dye
The light underpainting is completed. It maps out where the colors go. Next comes a second layer of more intensely saturated dye color. My intention with this final layer of color is to create a texture that looks like faceted stone in jewel tones. It should have areas of light and dark for contrast and should abstractly resemble the effect of up-bounced light off of water surface.
one more sample
For the final dye layer I envisioned bolder colors than in my previous samples. And so I made yet another color sample, this time pushing the saturation. The result is the narrow silk in the photo below. Notice the increased vibrancy and rich jewel tones as compared to the previous sample at left. I like both, but the more intense colors seem best for viewing at a distance by middle school children.
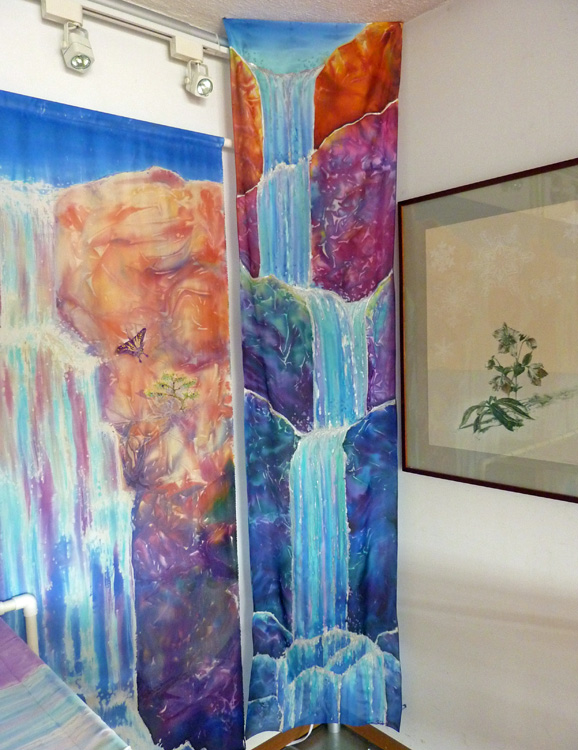
There are four main color zones in the sample which are carried into the finished artwork.
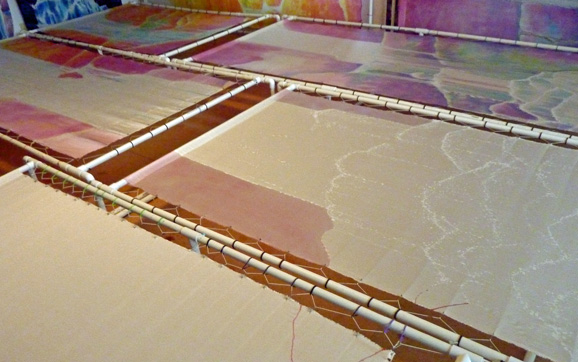
For consistency, I dyed all the silk panels one color zone at a time, beginning with orange.

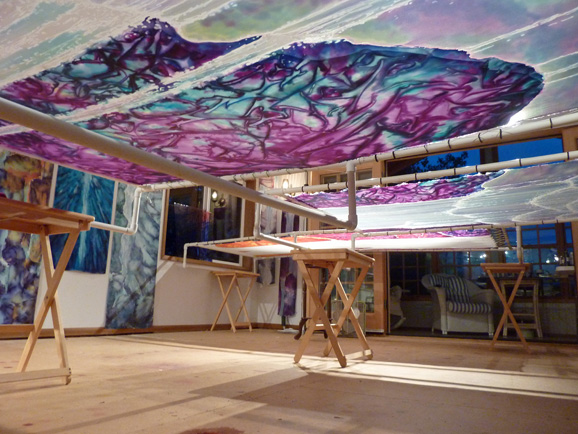
Here above, the view is from below the silks, looking up through them. The orange areas are still wet and colors will keep migrating in the silk weave until they dry.
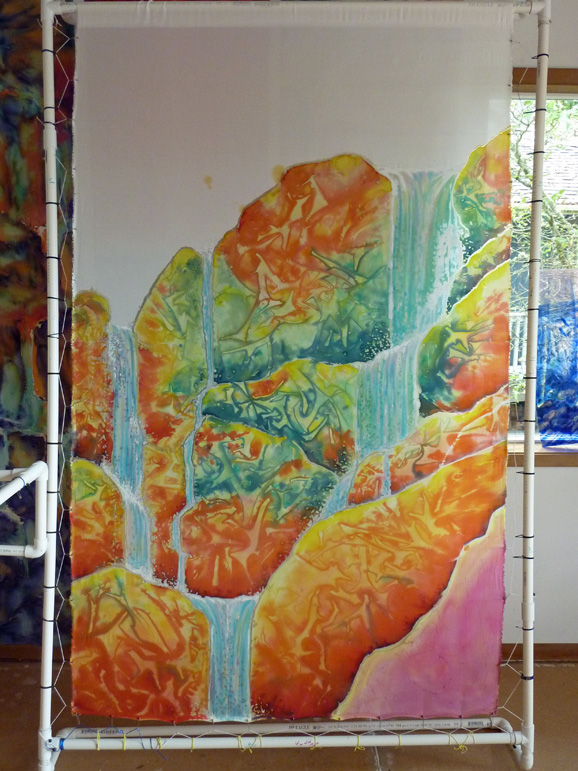
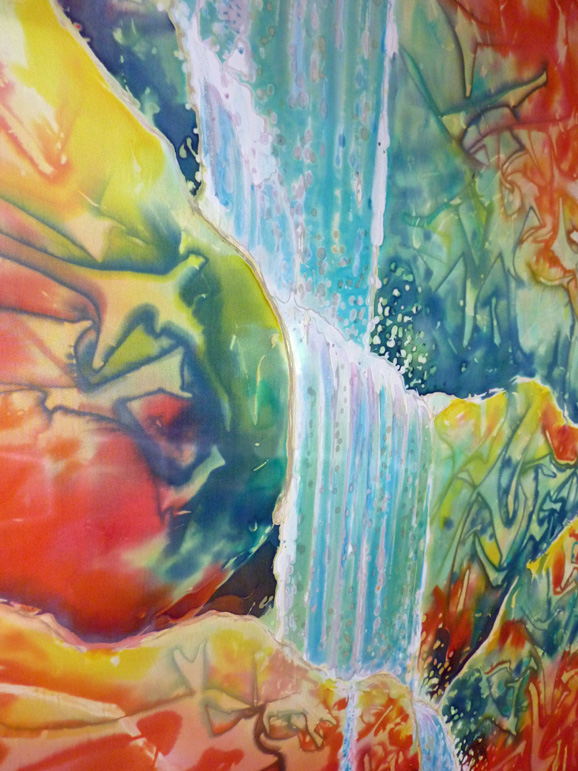
(Photo above) The orange zone of the top right panel of the eleven is completed. Only the sky and rose pink areas await completion. A detail below shows the texture and how resist lines define the waterfall design. The "blobs" will become white silk after I set the color permanently with steam and wash out the resist.
the orange zone is done
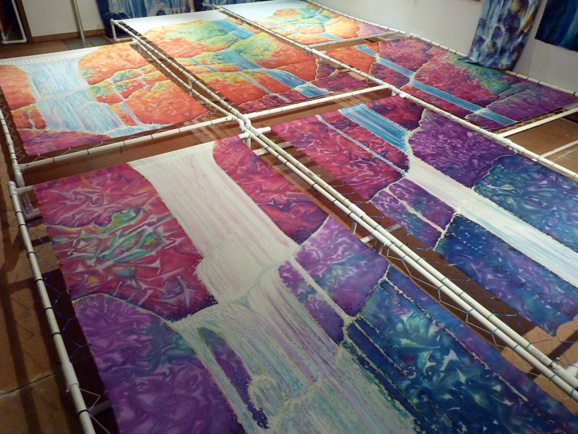
Above is a view of five out of six of the silk panels which have the orange zone running though them horizontally.
Below I've begun dying sections of the purple zone, viewed from underneath to show how it will look when dry.
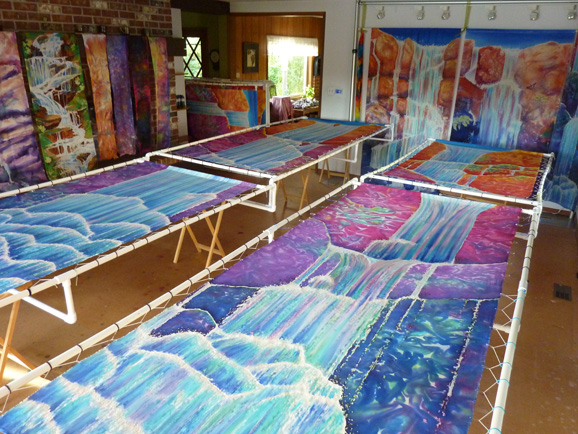
stone areas completed
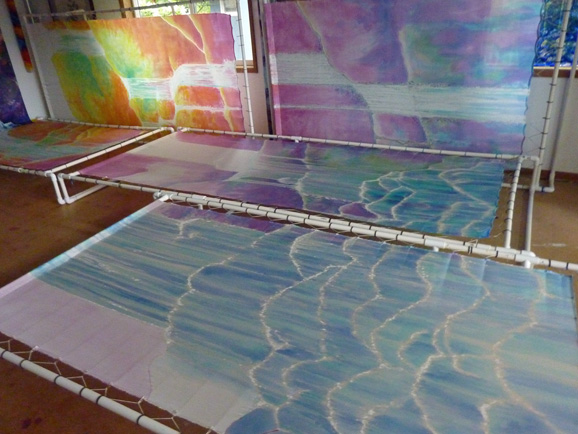
Here are half the panels (left side) with all the stone areas completed.
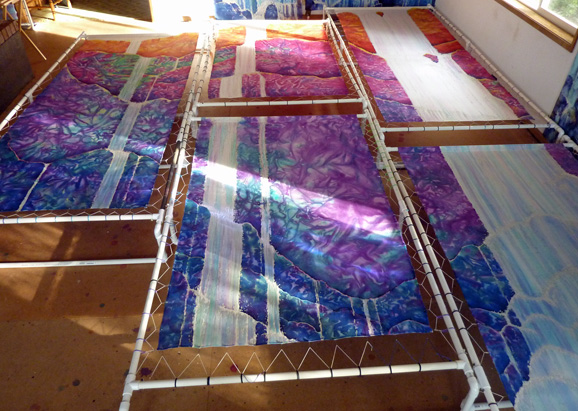
The colors have become more saturated, from pastels to vibrant jewel tones. Notice how the colors shift from warm oranges at top to cool blues at bottom.
Here below are the other half of the panels (right side) with the stone areas completed and some water areas done as well. All my panels don't fit on my studio floor at once. So try to imagine all eleven panels together.
final panels
When I'm working on something, I'm immersed in the process.
I'm completely surprised when suddenly it's done.
Below are two photos of dye-painting the water into the final panel.
before
after
Whew!
an aside of thankfulness
The last few days have set records for rainfall - blowing sideways in wind (Sept.-Oct. 2013). Water leaked into a stove pipe in my studio. I'm SO thankful I had moved my silks out of that room a few days before the rains. Water damage to my silks would have set me back months.
Double Whew!
Lately I've been told by more than one person that I must have an angel watching over me. To which I replied, "No, I think I have a whole squadron of them."
final touch-ups
Certain water areas just weren't defined clearly enough to read from a distance. Keeping highlight bright, I darkened a few shadow areas of the water imagery. But first I added clear resist to keep light areas open.
All touched up and more unified.
(Below) most of the eleven silk panels are completed. They should sit twenty-four hours or longer for the dyes to bond to the silk fiber before steam-setting for permanence.
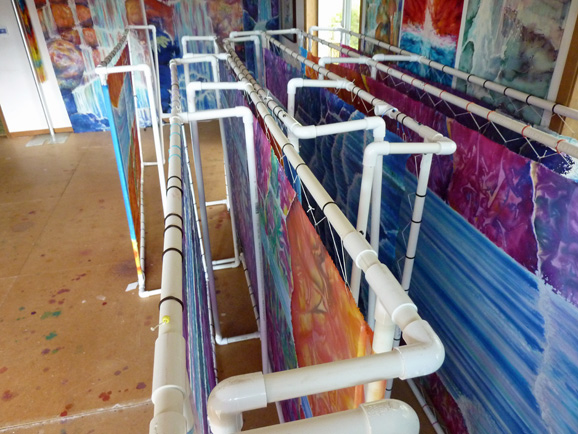
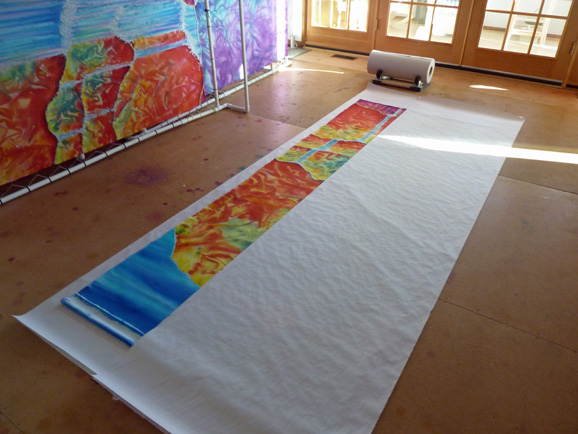
steaming silks
silks are rolled between protective layers of blank newsprint in preparation for steam-setting.
Rolled silk is suspended carefully (to not touch walls or anything wet) in an environment of steam for an hour and a half to permanently bond the dye molecules to the proteins inside of the silk fibers.
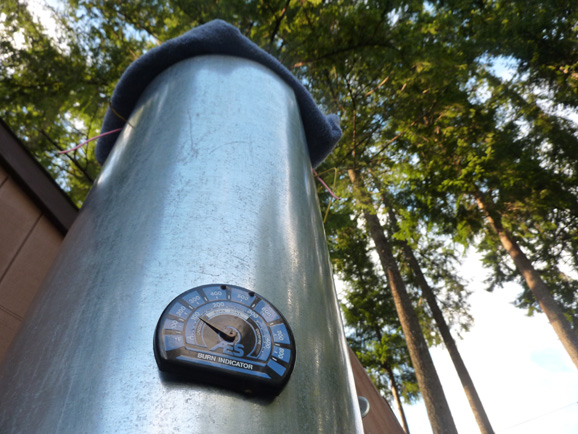
The steamer has come to the full temperature of boiling water - perfect for setting silk dyes.
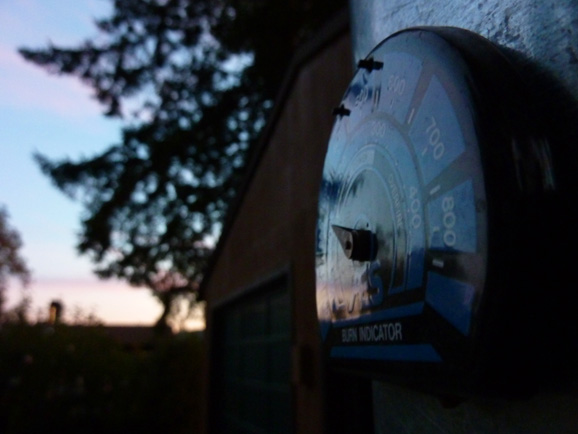
The sunset sky makes for a peaceful ending for this day of steaming silks.
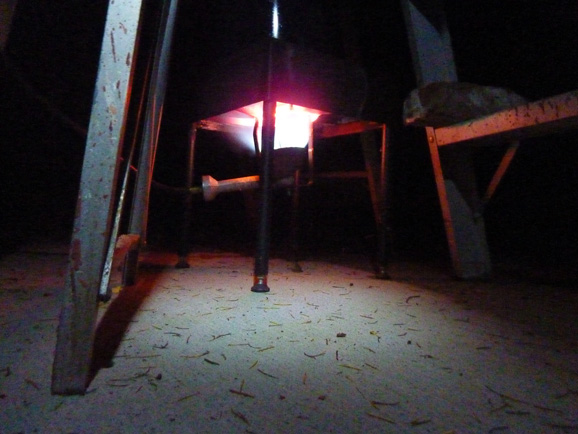
Steaming continued past sunset revealing my heat source of propane flame.
washing
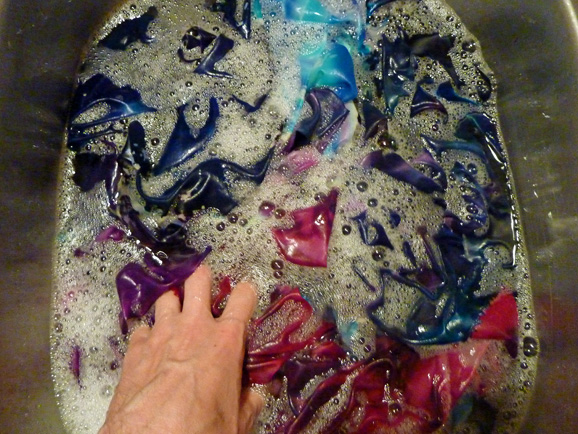
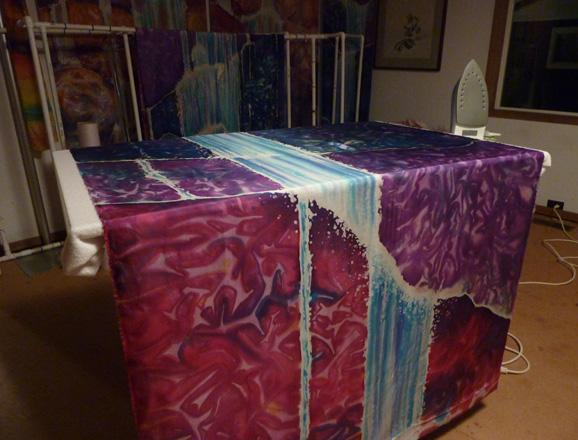
Steam-set silk is washed with mild soap and rinsed well, then ironed dry using the silk setting of course.
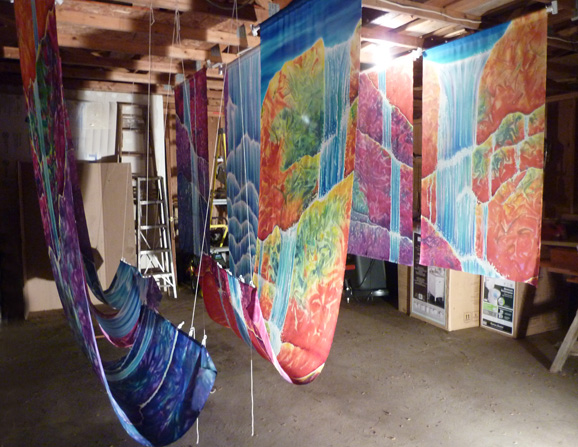
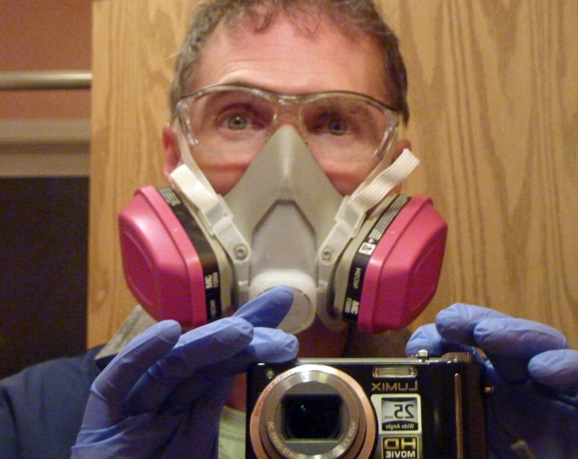
fire retardant
A spray treatment with fire retardant is required for fiber art in public spaces. I carefully suspended the steamed and washed silk panels from the garage rafters. The nine-foot long silks were doubled back with a light rod and clips on strings. I felt I was in a beautiful maze of color.
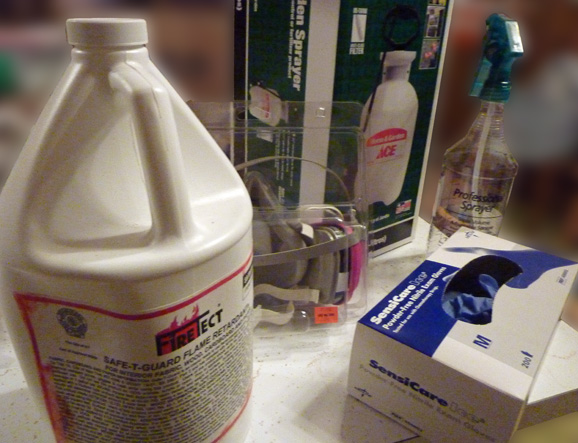
The standard SAFE-T-GUARD by FireTect and protective gear.
preparing for installation
To facilitate a smooth installation, I first checked my silk panels' alignment with the gray templates we'll be using again.
They matched perfectly, so I rolled them carefully onto PVC pipes and wrapped each in cling wrap for transport to nearby Liberty Middle School. The stainless steel display rods fit inside the PVC pipes allowing for easy transfer of the silks from pipes to rods.
installing
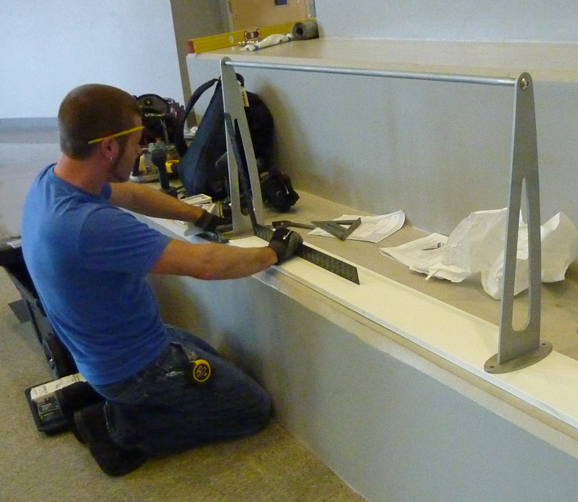
Dave Durbin of Durbin Construction designed and built a jig for placing the brackets in proper alignment.
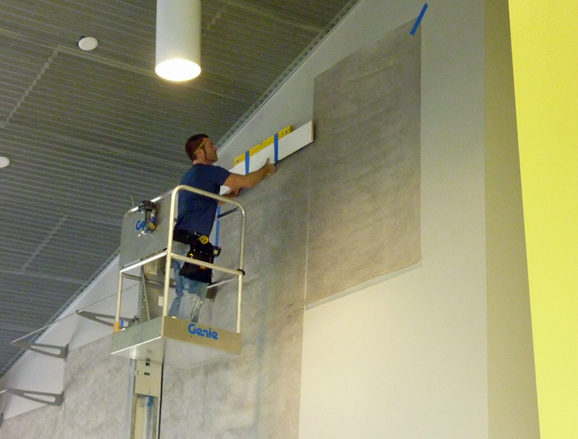
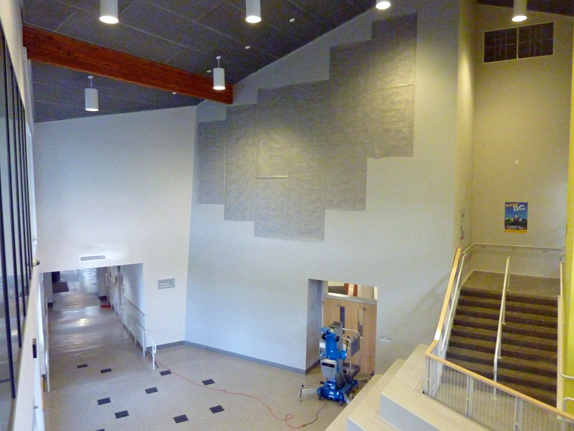
We began by hanging my rigid gray (sythetic felt) templates to indicate silk placement.
Brackets were installed at the tops of each template. This will align the design on the silk to read as one cohesive unit.
installed
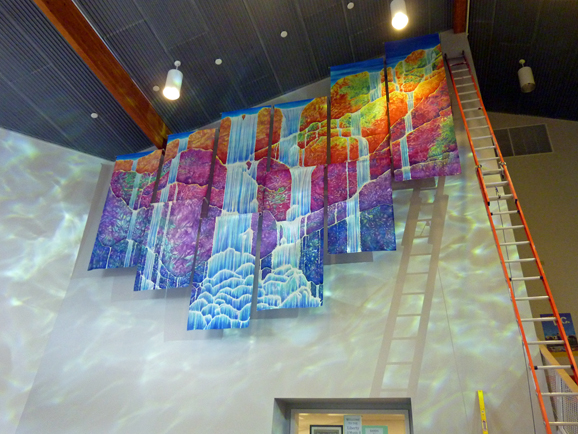
october 11, 2013
Good things come to those who wait.
After over two and a half years, my silk mural entitled Illuminated Passage is installed.
I’ve got electrical, lighting, and a plaque yet to install, but the hard part is completed.
thankful...
Best thanks to the Divine Loving Creator (He’s SO brilliant) for inspiring us to be smarter than we are.
Special thanks to David Durbin of Durbin Construction for his talent and fearless hard work at 35 feet up.
Big thanks also to video friends Shawn Franklin and Rick Dupea for bringing joy and humor and capturing the installation on video and photography. Shawn doubled as DJ filling the room with a great selection of tunes to keep us calm and keep us moving.
Thanks to Rhonda and her team at Liberty for scrambling to get the lift working, and for helping in many ways.
Thanks to the art selection committee and WSAC for daring to embrace this vision.
Thanks to my dear friends and family who have supported me and prayed me through my recent illness, encouraging me to persevere that this project may have a lasting, positive impact.
surprised
I made the artwork in pieces. The installation was the first time I saw the work as an assembled whole.
At one point near the end of the installation, I caught sight of the whole mural and I just sat down on the floor.
I was overwhelmed.
It’s better than I could have made it.
I suppose art should always be that way… bigger than the artist.
This project is sponsored by The WSAC Art in Public Places Program in partnership with the Bethel School District.